Disclosure: This post contains affiliate links. If you purchase through these links, I may earn a small commission at no extra cost to you. I only recommend gear I've personally tested in the field. Learn more
You found something shiny in your pan. But is it gold? Here are 5 tests I use in the field and at home to know for sure.
# Gold Testing Methods: 5 Ways to Know If It's Real
You found something shiny in your pan. Your heart's racing. But is it actually gold? Here are 5 tests I use to know for sure.
Test 1: The Scratch Test
What You Do: Drag the specimen across unglazed porcelain (like a tile back or streak plate).
Results:
- Gold leaves a gold/yellow streak - Good sign
- Black streak - Pyrite (fool's gold)
- Greenish-black streak - Chalcopyrite
My Take: Quick first test, but not definitive. I use this for fast field sorting.
Test 2: The Magnet Test
What You Do: Hold a strong rare earth magnet near the specimen.
Results:
- No attraction - Could be gold (gold isn't magnetic)
- Sticks to magnet - Definitely not gold (iron pyrite often is)
My Take: Good for eliminating obvious fakes. Real gold will never stick.
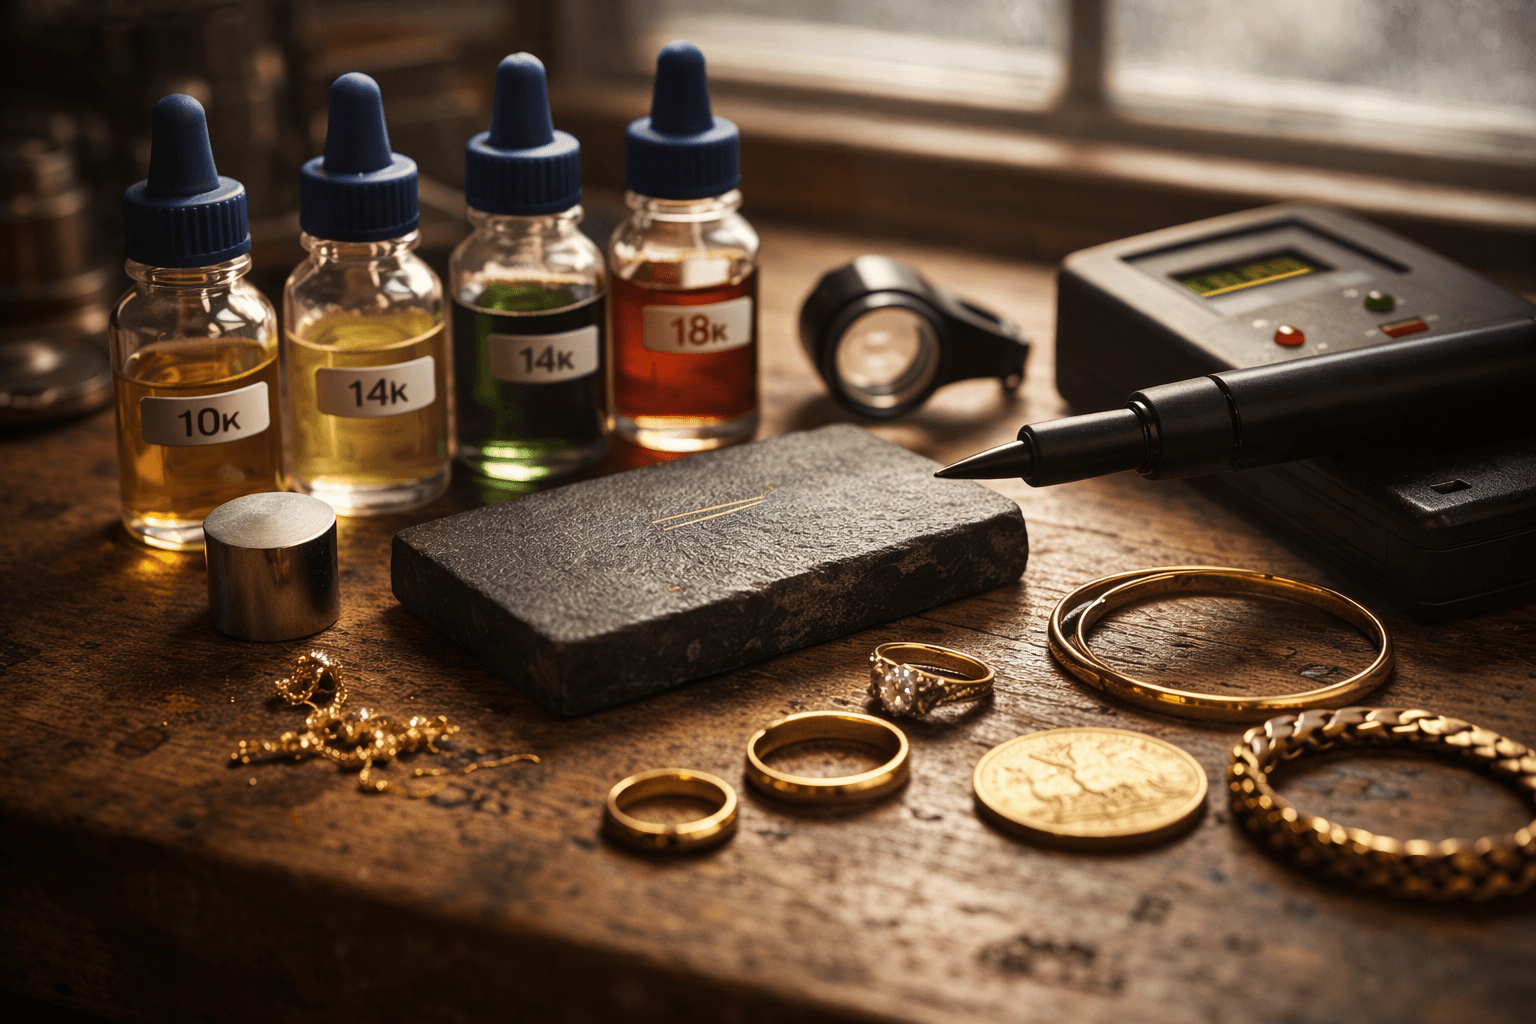
Test 3: The Acid Test
What You Need: Gold testing acid kit (nitric acid + other acids)
How It Works:
1. Scratch specimen on touchstone
2. Apply acid to the scratch mark
3. True gold resists acids; fakes dissolve or change color
Safety First: Use gloves and eye protection. Work outdoors or in ventilated area.
My Take: The most reliable field test. A 0 kit pays for itself the first time you avoid buying fake "gold."
Test 4: Specific Gravity Test
What You Do: Weigh specimen dry, then suspended in water. Calculate specific gravity.
The Math:
- Specific Gravity = Dry Weight ÷ (Dry Weight - Suspended Weight)
Results:
- Pure gold: 19.3
- Quartz with gold: 10-15 (depending on gold content)
- Pyrite: 5.0
- Chalcopyrite: 4.2
My Take: Most accurate test without lab equipment. Essential for specimens in quartz.
Test 5: The Bite Test (Don't Actually Do This)
You've seen it in movies—biting gold. Real gold is soft and will show tooth marks. But please don't do this. You'll damage your gold AND potentially your teeth.
What I Actually Do
In the field:
1. Visual check - Color, shape, location
2. Magnet test - Quick elimination
3. Scratch test - Fast streak check
At home:
4. Acid test - Confirmation
5. Specific gravity - For quartz specimens
The #1 Sign It's Gold
Where you found it. Gold in a known gold-bearing creek? Probably gold. Gold in random dirt? Test it carefully. Location matters more than any single test.
Jake has tested thousands of specimens over 22 years. He still gets excited about every new piece—after he tests it.
Related Articles
Black Sand Processing: 3 Methods to Get Every Speck of Gold
That black sand concentrate is full of gold you can't see. Here are three proven methods to separate the gold from magnetic and non-magnetic sands.
How-To GuidesSluice Box Setup Guide: Get More Gold in Every Run
After 22 years of running sluices, I've learned that proper setup makes the difference between frustration and full vials. Here's everything you need to know.